Gardening can feel overwhelming—especially when you’re staring at a seed packet, trying to decide where to plant it, how to keep it alive, and what in the world you’ll do with the harvest when it all finally comes in. I’ve been there. Tomatoes were my first real adventure in gardening. Not just a plant or two—I went all in. Four raised beds, all tomatoes. Roma tomatoes, to be exact. And yes, one year, I managed to grow enough to feed our family for an entire year.
So this is your guide, full of honest experience and tips: from choosing tomatoes to canning them the simple, stress-free way. If you’re feeling overwhelmed by the idea of pressure canning tomatoes, you’re in the right place. Let’s break it down step-by-step, just like I wish someone had done for me.
Contents
Choosing the Right Tomatoes
Determinate vs. Indeterminate
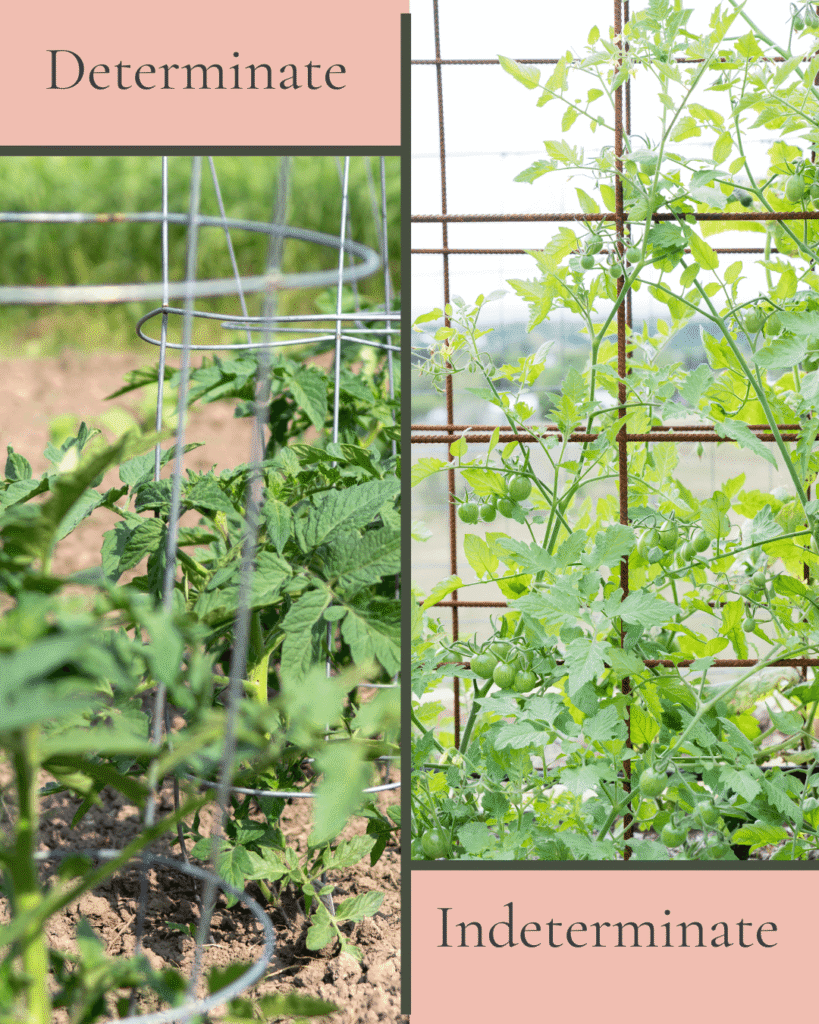
The first step is figuring out what kind of tomatoes you want to grow. There are two main types:
- Determinate tomatoes grow to a set height. I remember them as the bushy ones. They’re leafy, they do great in cages, and they tend to ripen all at once.
- Indeterminate tomatoes keep growing and growing—like wild vines. They need trellises or something to climb. These take more maintenance but often produce throughout the season.
Pick Your Purpose
Then you get into types: cherry, paste, and slicing. I’ve only ever grown Roma tomatoes, the best paste variety for sauces like spaghetti and chili. They’re oval, not round, and perfect for preserving.
- Not sure where to begin with tomato types? The Old Farmer’s Almanac tomato growing guide is a fantastic, beginner-friendly resource.
One year, we grew over 30 Roma plants—some from seed, some purchased. Honestly, if you’re new, buy the starts. It’s easier. They’ll still need warmth and sunshine. Where we live in Canada, I don’t plant them until mid-June to avoid late frost.
Don’t forget to add fertilizer! My favorite brand is hilariously called Big Ass Tomatoes. Mix it with water at planting for a solid boost. Cage your determinants early or start training your indeterminates to climb right away.
Avoid overheating soil: Don’t plant in cut-up plastic barrels. The soil gets too hot and your tomatoes won’t thrive.
Tomato Plant Maintenance
Tomatoes, especially indeterminate varieties, need ongoing care to produce well. Here are some essential tips:
- Prune regularly: Remove suckers (small shoots in the leaf joints) to promote fruit production instead of excess leaves.
- Top the plants: Once they reach the desired height or the end of the season is near, cut off the tops to signal the plant to focus on ripening fruit.
- Support them well: Use cages for determinates and sturdy trellises or strings for indeterminates.
- Check for issues: Watch for blossom-end rot and remove any damaged fruit early.
- Harvest proactively: Pick tomatoes that are starting to ripen or are touching the ground to avoid rot and pest issues.
Keeping up with these tasks will help you get a bigger, healthier harvest—and make the canning process much more rewarding!
How to Ripen Tomatoes Indoors
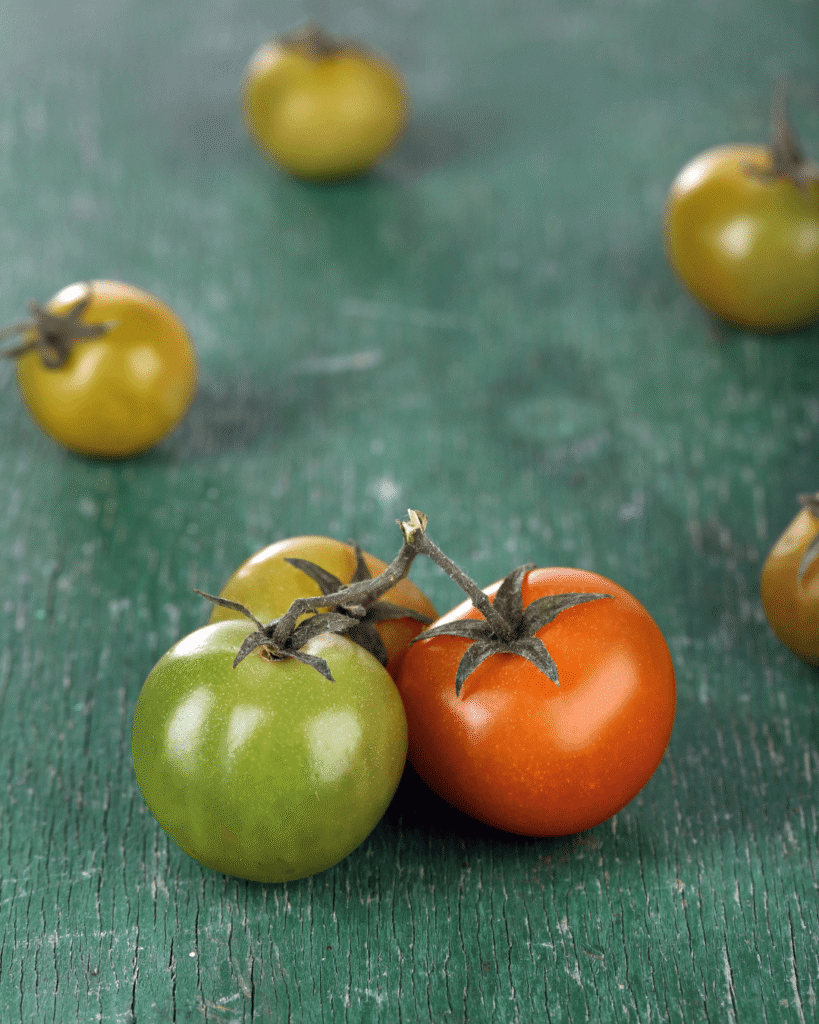
If you notice tomatoes starting to ripen but a storm is coming (like the hurricane we had in October), don’t wait! Harvest them early—green, red, or in between—and let them ripen indoors.
We spread ours on towels in the garage with space between each tomato for airflow. Each day, we’d check for signs of rot and remove any bad ones. They ripened beautifully over time.
Quick Tip: Any tomatoes touching the ground should be picked early and ripened indoors. It prevents pests and spoilage.
Water Bath vs. Pressure Canning
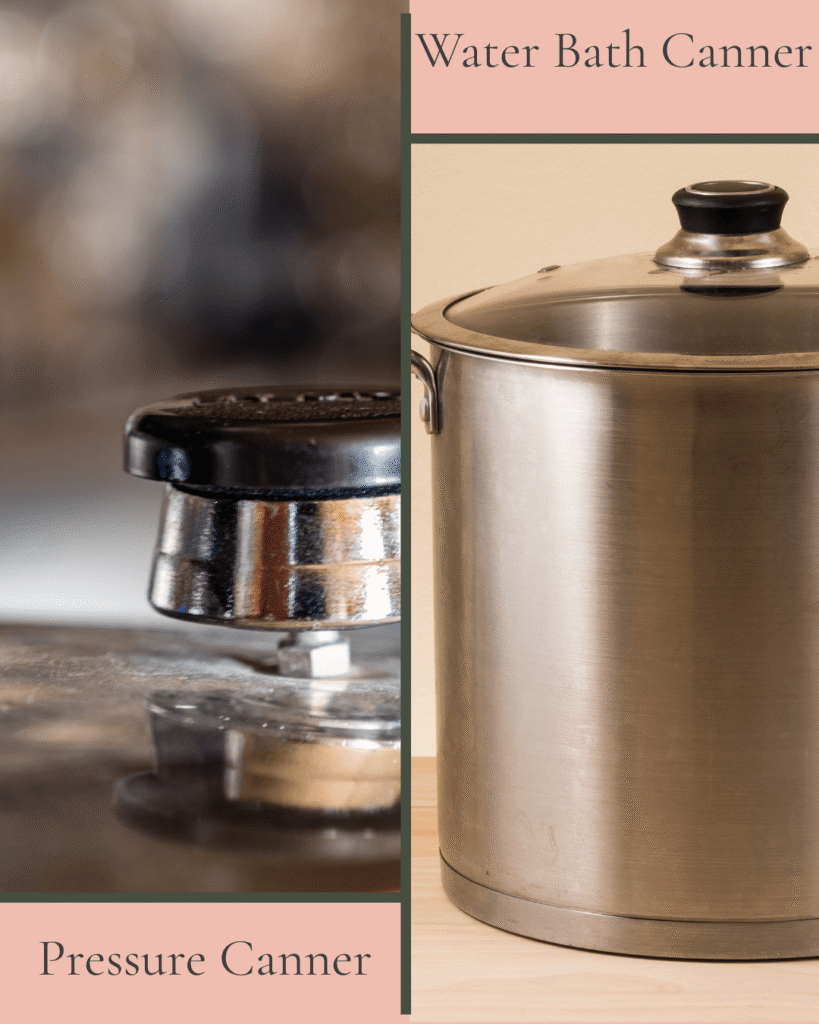
Water bath canning works great for high-acid foods like fruit and jams, but tomatoes are borderline—they can go either way. I know some people water bath their tomatoes, and it can be done, but personally? I prefer pressure canning. It gives me peace of mind. I know for sure it kills all the bacteria, especially when I want to add things like onions or herbs to my sauce. It’s a little more effort, but it’s worth it to know the food I’m feeding my family is fully safe.
What You’ll Need
Equipment
- Pressure canner
- Quart or pint mason jars with lids and rings
- Funnel
- Jar lifter
- Bubble remover or butter knife
- Clean towels
Ingredients
- Fresh Roma tomatoes (21 lbs for 7 quarts or 13 lbs for 9 pints)
- 1/4 tsp canning salt per jar (optional but my go-to)
Step-by-Step Instructions
Step 1: Prep Your Tomatoes
- Wash your tomatoes.
- Blanch in boiling water for 30–60 seconds until skins split.
- Transfer to an ice bath. Skins should peel easily.
- Core and quarter or leave whole.
Freeze for Later (Optional)
If you’re harvesting in bulk, don’t worry about processing right away. I’d toss ripe tomatoes on a cookie sheet, freeze them, and bag them up. Then in February, when life slowed down, I’d thaw them in a sink of warm water. They puree beautifully after freezing.
Once thawed, I puree everything—skin, seeds, all—in a food processor and cook it down in a large pot. The goal? Thicker sauce, not watery jars. Frozen tomatoes tend to be wetter, so this step helps boil off excess moisture.
Step 2: Prep Your Jars
- Wash jars well—dishwasher or hot soapy water works.
- I don’t preheat them; they haven’t exploded yet!
- Add 1/4 tsp of canning salt to each jar.
Step 3: Pack the Jars
- Choose raw pack (uncooked tomatoes + boiling water) or hot pack (simmered tomatoes).
- I go hot pack—it gives a thicker, richer result.
- Fill jars, leaving 1-inch headspace.
- Remove air bubbles.
- Wipe rims with a hot cloth.
- Place lids and tighten rings to finger-tight.
Step 4: Process in the Pressure Canner
- Add water to the canner per your model’s directions.
- Place jars inside, lock the lid, and vent steam for 10 minutes.
- Bring pressure to 10 PSI (weighted gauge) or 11 PSI (dial gauge).
Processing Times
- Pints: 35 minutes
- Quarts: 45 minutes
Turn off the heat and let the pressure return to zero naturally. Let the jars rest inside the canner for 5–10 minutes before removing them.
Be sure to follow your pressure canner’s manufacturer guidelines, or refer to Ball Canning’s Official Pressure Canning Guide for safe processing times.
After Canning
- Remove jars and place on a towel to cool.
- Listen for the sweet sound of popping lids!
- After 12–24 hours, check seals by pressing the center of each lid.
- Label and store in a cool, dark place.
Thought:
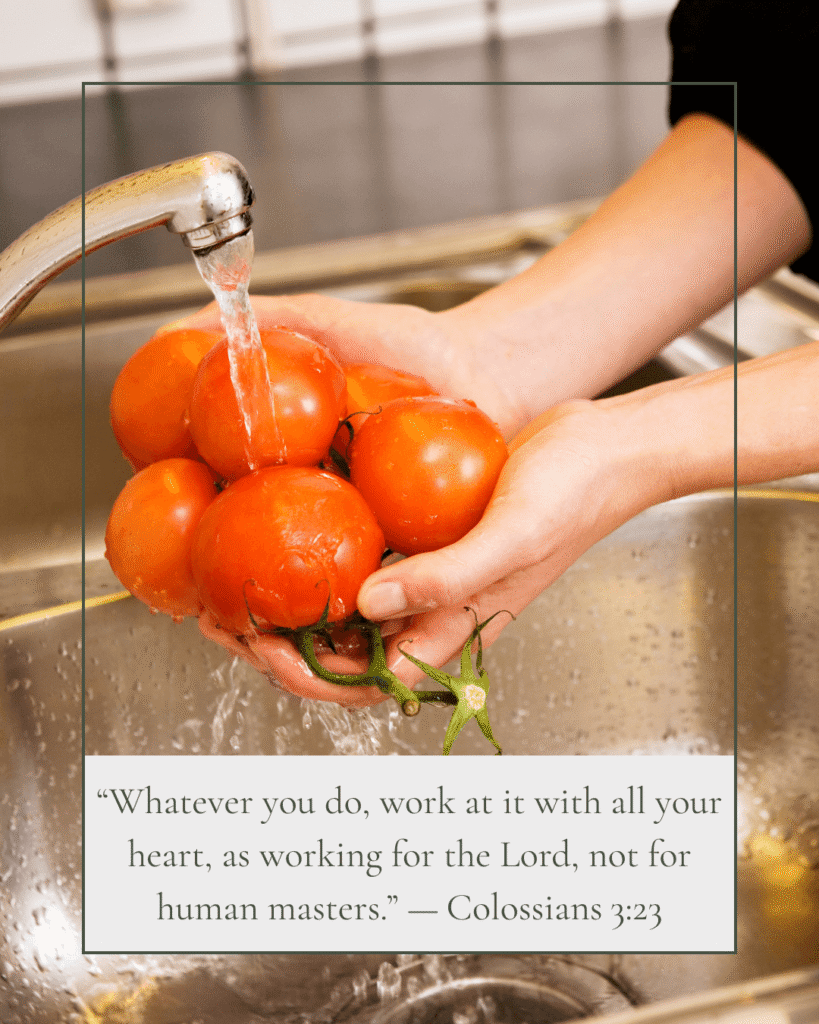
Between the garden dirt, the pressure canner hustle, and the sticky jars on the counter—I know it doesn’t always feel sacred. Sometimes it feels exhausting. But this verse gently reminds us: every chore, even the tomato-sauce marathon, is an act of worship when done with love and intention.
When I carefully rinse each tomato or wipe the rim of a jar before sealing, that’s not just skill—it’s service. When I choose to preserve nourishing food for my family—even when I’m tired or overwhelmed—that’s purpose wrapped in patience.
Colossians 3:23 invites us to do everything—big or small—as if we’re serving God Himself, not just the messy counter or the canner timer. That changes everything: the dishes, the harvest, and the very posture of our heart.
Prayer:
God, help me see my tasks as offerings and not burdens. Even when I’m sticky or tired, remind me that my work matters to You—done with faith, care, and love. May every jar I seal reflect the purpose You’ve placed in my hands. Amen.
Final Tips
- Don’t skip the salt—it adds flavor and helps preserve.
- Adjust the pressure for your altitude.
- Watch for blossom-end rot—blackened ends can ruin fruit.
- Don’t crowd ripening tomatoes—airflow prevents mold.
Whether you’re planning to make spaghetti, chili, or just a hearty tomato sauce, pressure canning is a game-changer. It might sound intimidating, but once you’ve done it once or twice, it becomes second nature. And there’s something really satisfying about hearing those lids pop and knowing your hard work is preserved for the months to come.
You’ve got this, mama. Let’s grow, harvest, and can with confidence this year!

Your great grandma and grandpa would be proud of you as am I.