Contents
- 1 Why Canning Is Worth It
- 2 Essential Canning Supplies
- 3 Water Bath vs. Pressure Canning: What’s the Difference?
- 4 Choosing What to Can
- 5 Step-by-Step Overview of Water Bath Canning
- 6 Step-by-Step Overview of Pressure Canning
- 7 Safety Tips Every Mom Should Know
- 8 Small Devotional Moment
- 9 Time-Saving Tips for Busy Moms
- 10 Resources for Learning More
- 11 Conclusion: Empowering Moms to Preserve with Confidence
Why Canning Is Worth It
Hello, September, and hello bulk of the harvest. What in the world are you going to do with all of that produce, all of that bounty coming from your garden? My advice in large part: can it—pressure can it. This makes it shelf-stable and keeps it out of your freezer, where it might taint everything else.
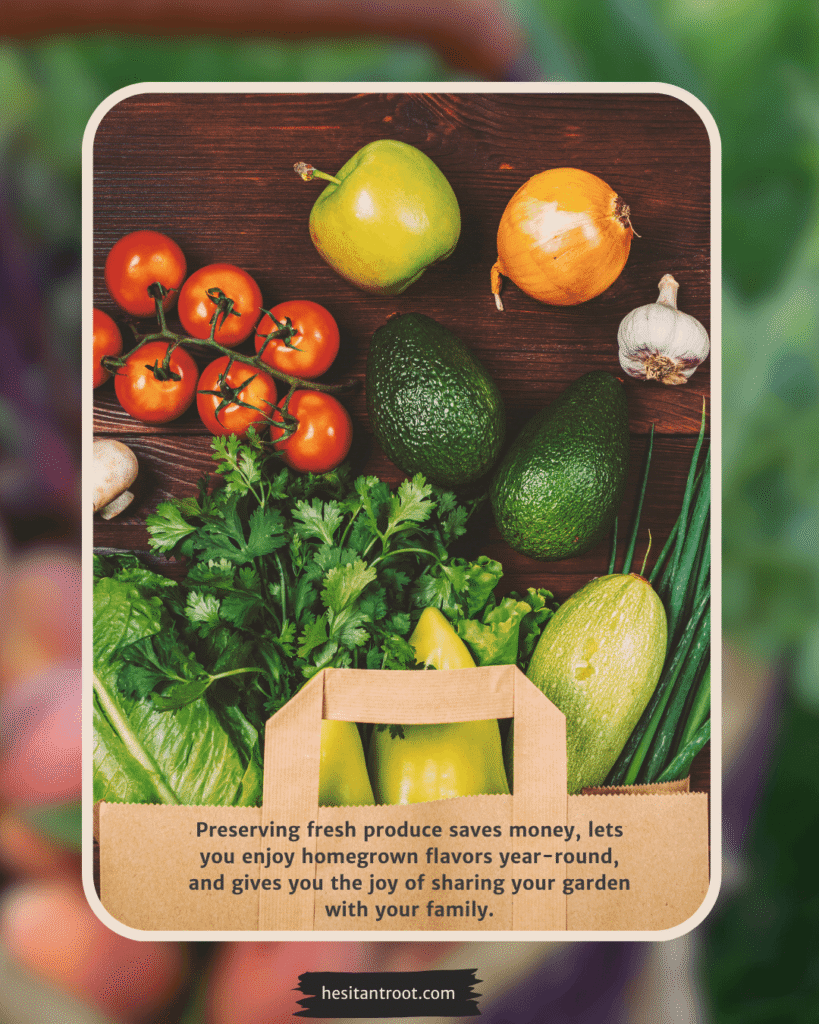
Canning can feel intimidating at first, but with a simple canning guide for beginners, it doesn’t have to be complicated or stressful. Preserving fresh produce saves money, lets you enjoy homegrown flavors year-round, and gives you the joy of sharing your garden with your family.
Essential Canning Supplies
Here’s what you need to get started:
Basic Equipment
- Canner (water bath or pressure)
- Jars
- New lids
- Funnel
- Jar lifter
- Timer
For beginners, affordable and reliable tools work just fine. I recommend steel-on-steel pressure canners like All American, which will last a lifetime. You can also find jars and lids at hardware stores or even Dollarama if you’re in Canada.
A simple canning guide for beginners will help you focus on these essentials without feeling overwhelmed.
Water Bath vs. Pressure Canning: What’s the Difference?
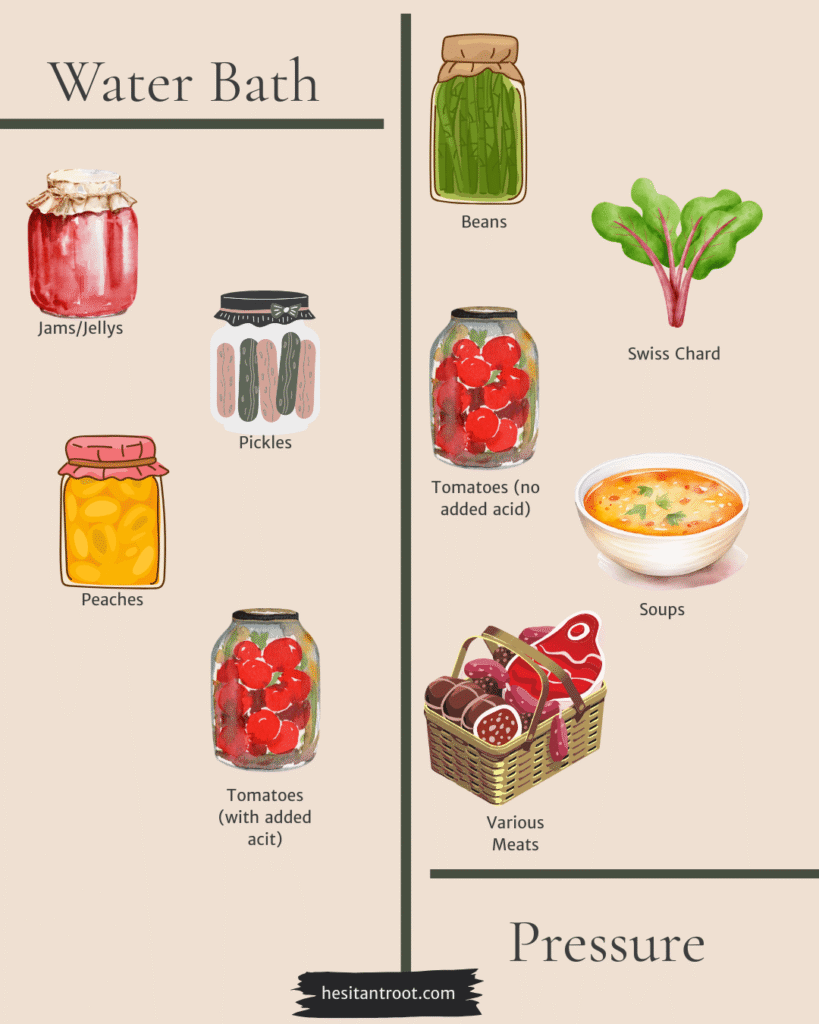
Water bath canning is perfect for high-acid foods like fruits, jams, jellies, pickles, and some tomatoes with added acid. Pressure canning is required for low-acid foods such as vegetables, meats, poultry, seafood, soups, and sauces, to prevent botulism.
Most garden produce will need pressure canning to ensure safety. Following a simple canning guide for beginners helps you know exactly which method to use for each type of food.
Quick Chart for Beginners:
Choosing What to Can
Best garden fruits and vegetables for beginners include tomatoes, pickles, peaches, green beans, and Swiss chard. Water bath canning is ideal for jams and jellies, while pressure canning is essential for anything low-acid or dense.
Canning fresh produce immediately after harvest gives the best results. Using a simple canning guide for beginners helps you decide what to start with and prevents mistakes.
Step-by-Step Overview of Water Bath Canning
Follow this simple canning guide for beginners for easy steps:
Steps:
- Prepare jars and lids at least to room temperature.
- Wash, peel, or cut produce as needed.
- Pack jars with produce and hot liquid if required.
- Remove air bubbles and wipe rims clean.
- Place lids on jars and process in a hard, rolling boil for the recommended time.
- Cool jars undisturbed on a towel for at least 24 hours and check seals.
Step-by-Step Overview of Pressure Canning
Pressure canning for low-acid foods follows similar steps:
Steps:
- Prepare jars and lids.
- Add salt or acid as needed.
- Load jars into the canner with water.
- Seal, build pressure, and process at the recommended time and pressure.
- Allow pressure to release completely before opening.
- Remove jars, let them sit undisturbed, and check seals.
Even when using a simple canning guide for beginners, pressure canning can feel intimidating. But following tested times and pressures guarantees safety.
Safety Tips Every Mom Should Know
- Follow only tested recipes.
- Keep jars clean and free of residue.
- Check seals regularly and remove rings from jars you’ll use immediately.
- Watch for signs of spoilage and discard anything suspicious.
Small Devotional Moment
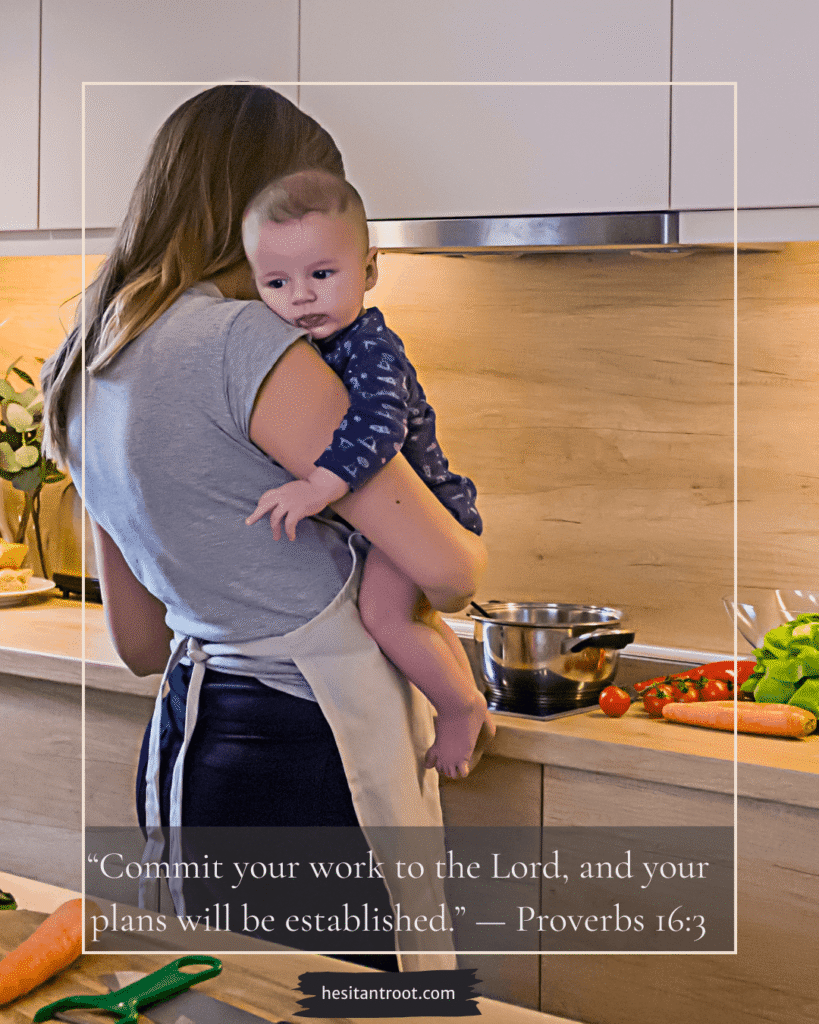
Thought: As we preserve our garden’s fruits, we commit every task to God. His guidance helps us find joy even in the simplest household tasks.
Prayer: Lord, thank You for the gift of provision and the hands to preserve it. Help me approach this season of work with patience, grace, and trust in Your steady guidance. Amen.
Time-Saving Tips for Busy Moms
- Batch prep produce for multiple jars at once.
- Get family members involved—two days of canning fly by with helpers.
- Spread projects across several days or weekends.
- Use pre-cut or frozen produce if your garden isn’t enough yet.
A simple canning guide for beginners often emphasizes these shortcuts to keep the process enjoyable.
Resources for Learning More
Here are some trusted resources to help you dive deeper into safe and effective canning practices:
- USDA Complete Guide to Home Canning (2015 Revision)
A comprehensive, research-based guide covering all aspects of home canning, including principles, fruits, vegetables, meats, and more. - National Center for Home Food Preservation
Offers science-based recommendations for home food preservation methods, including canning, freezing, and drying. - Ball® Mason Jars Canning & Preserving Guides
Provides step-by-step guides for canning, pickling, freezing, dehydrating, and more, making preserving your favorite foods easy and delicious.
Conclusion: Empowering Moms to Preserve with Confidence
Canning is a skill that grows with practice. Start small, follow a simple canning guide for beginners, and soon your cold room will overflow with home-preserved goodness. You’ll save money, stress, and gain the joy of providing for your family straight from your garden.
Great advice, Great grandma would be proud.